Making espresso can feel like a steep learning curve when you first get into it. With so many detailed moving parts most beginners don’t even understand the difference between a well made espresso and a poor one. But falling in love with the process and the journey of improving can be an addictive and exciting hobby. Here’s a few steps and a quick overview that hopefully will send you on your way to pulling a beautiful, and tasty cup of espresso.
1. The Grind

Always grind fresh whole beans directly before brewing. The texture of the grind will largely impact the quality of the shot. If it’s to fine and it will cause a slow, over extracted shot that will taste bitter. You will be able to tell because the shot will have a dark brown crema on the top. If it’s to course and the shot will be weak, watery and sour. This will result in a light tan coloured crema. To find the perfect grind, takes practice and experimentation.
2. Dose

The dose is the amount you use for a shot. The most common portion is a double shot. This can be unique to your coffee set up. Typically it’s around 14-18 grams.
3. Tamp

The tamping is responsible for uniformity of the extraction. Rest your portafilter on an even surface while keeping your elbow at 90 degrees.
Apply pressure until the grounds have an even polished look. If your shot is pouring unevenly on one side it is most likely due to your tamp.
4. Brew

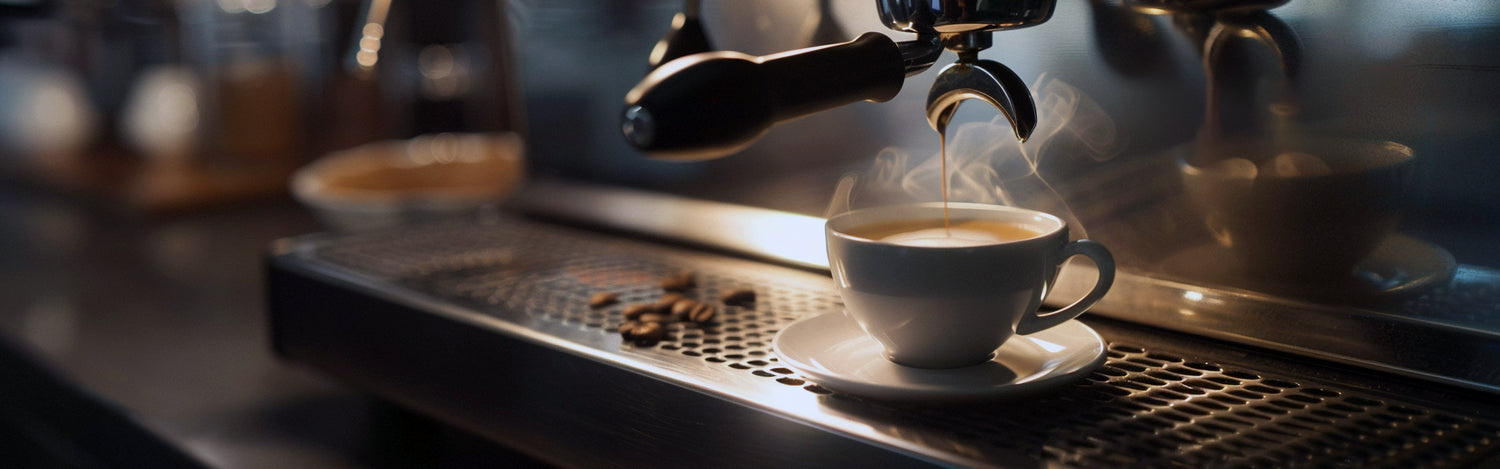
If you had a good tamp and grind the first portion of the shot should be dark before turning into a golden brown. The volume of each shot should
be around 1 oz per shot. If your pulling a double shot, continue to run the shot until you have about 2 oz in the cup. This should take about 20-30 seconds. If it’s running to long or short you may want to go back and check the previous steps. The final product should have a nice golden crema on the top.
Time to get tamping. Brewing espresso takes practice and attention to detail. Take pride in it and have fun!